|
|
|
WELCOME TO MY CUSTOM PC PROJECT LOG 2012 ONWARDS
|
|
| CONTENTS:
Introduction Priming & Painting Modding Air Flow Cable stealthing Chassis modding Finishing touches Cable sleeving & Trim work Assembly Lighting 2015 Upgrades 2017 Upgrades 2018 Rebuild & Upgrades 2019 SSD Upgrade 2024 Rebuild & Upgrades 2024 Intake Fan Upgrade 2025 Graphics Card upgrade & bottom intake vent 2025 CPU upgrade, top panel I/O upgrade and drive cage removal 2025 CPU replacement and RGB Lighting 2026 Motherboard replacement and GPU support Introduction For many years I wanted one of these cases, if not the whole system ( at the time they were top end systems, and even now current models come in a similar flavour of hardware to what I plan on using ). Anyway, fast forward several years and 5 computers ( 2 custom builds ) later and I finally managed to secure the case of my dreams; from Germany no less ( such is the difficulty in finding one- a money-can't-buy item nearly )...
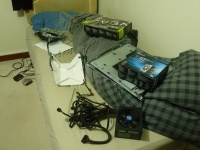
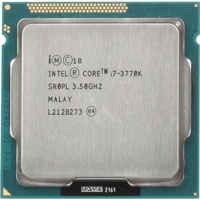
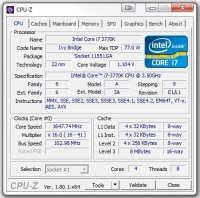
That's the bulk of the hardware I will be using ordered ( I will put a full list & links at the end of the project ); I went for an i5 2500k SandyBridge as opposed to the newer IvyBridge equivalent due to heat concerns- I do plan on overclocking & don't plan on watercooling so a cooler running CPU which is still powerful as you like is the order of the day. 
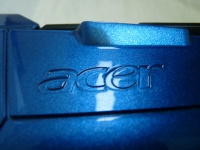

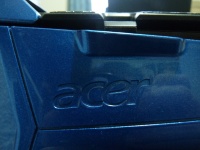
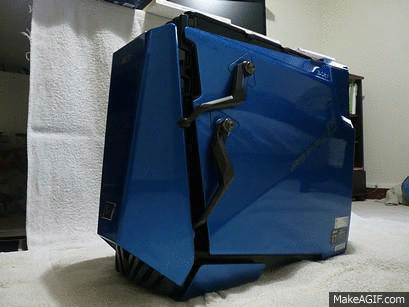
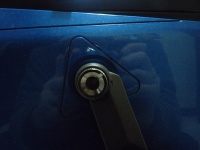
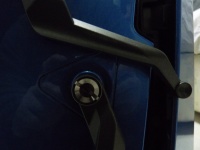
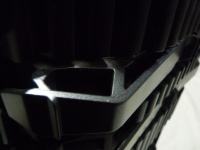
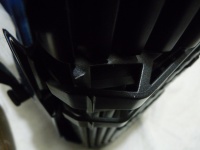
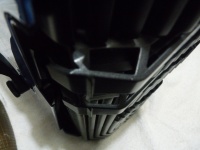
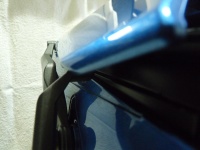
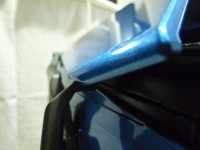
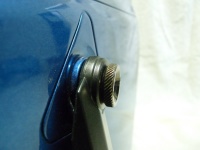
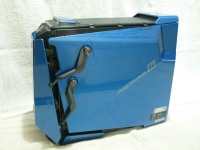
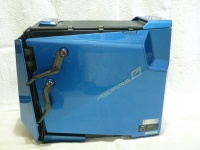
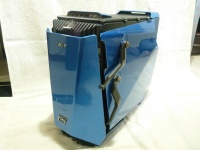
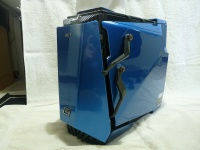
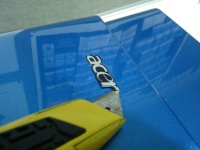
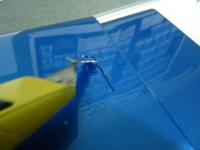
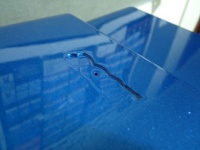
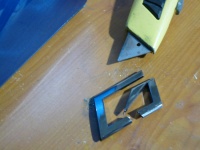
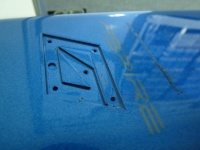
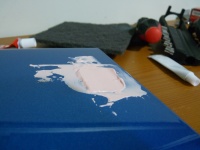
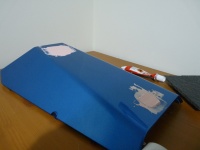
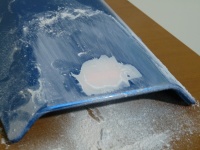
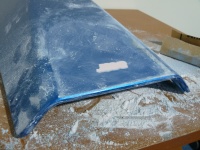
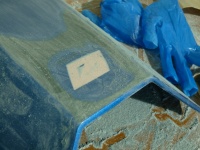
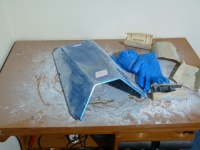
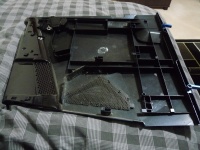
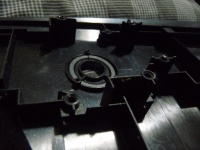
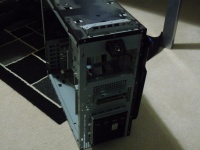
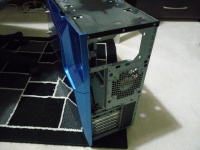
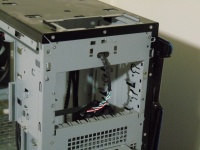
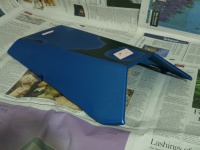
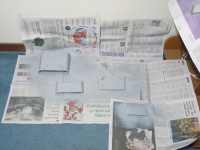
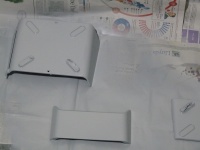
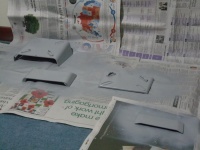
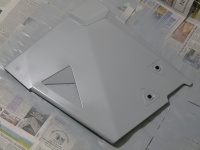
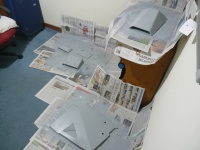
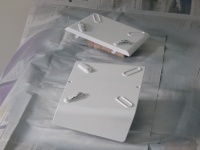
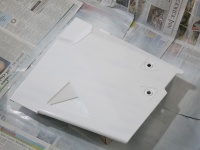
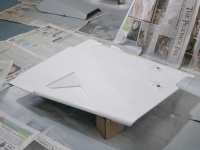
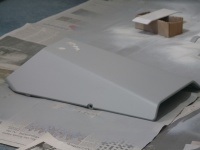
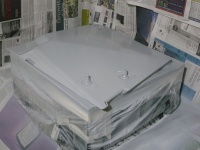
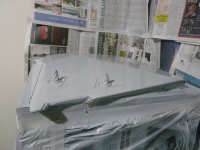
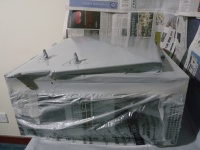
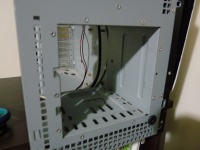
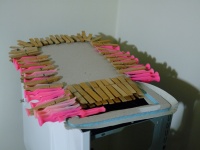
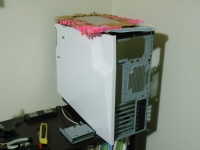
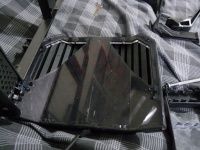
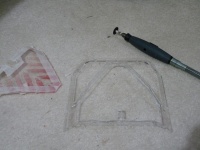
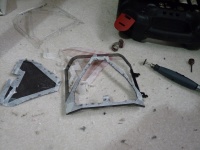
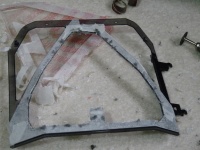
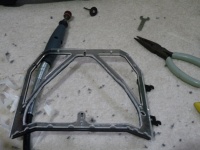
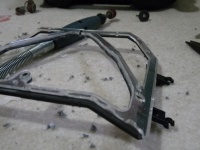
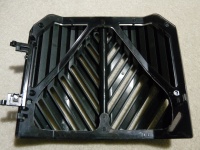
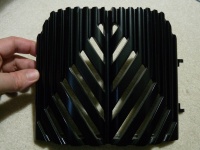
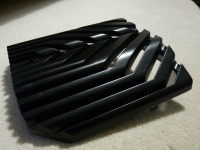
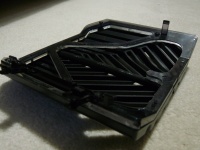
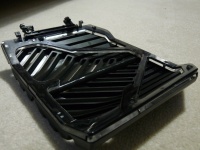
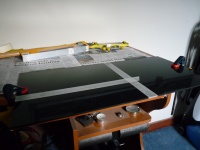
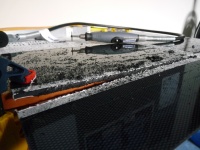
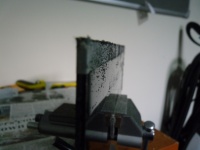
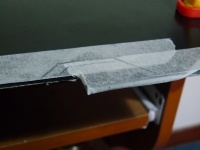
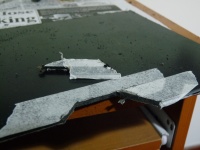
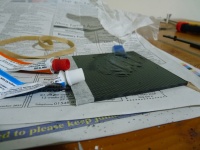
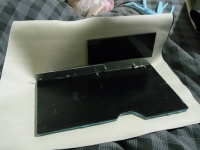
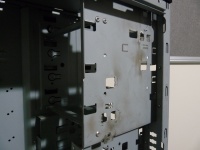
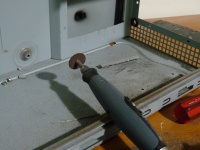
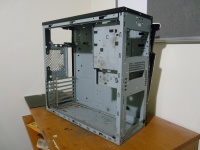
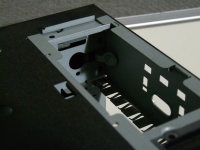
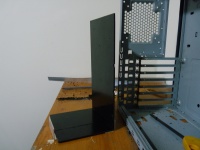
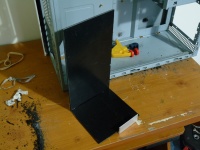
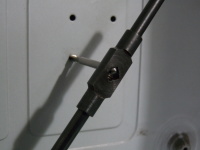
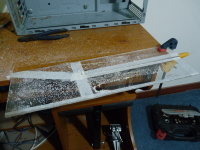
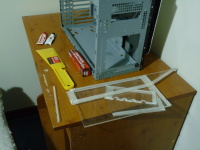
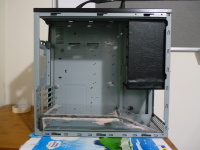
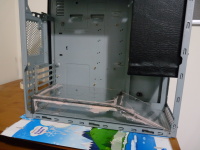
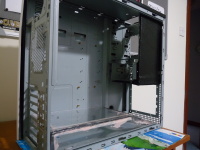
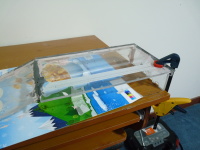
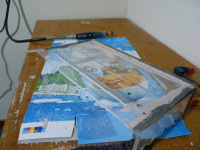
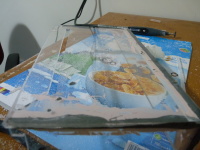
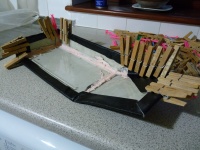
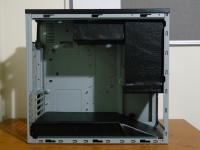
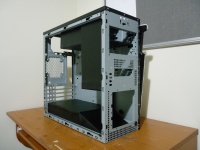
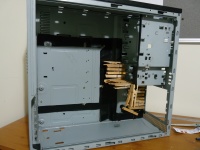
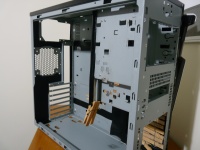
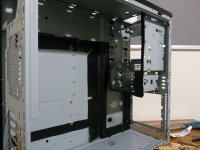
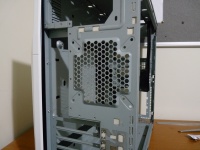
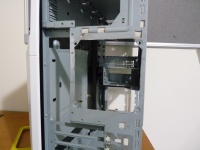
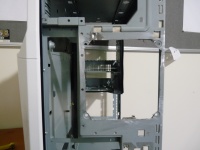
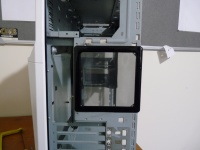
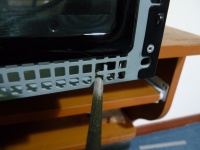
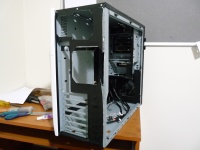
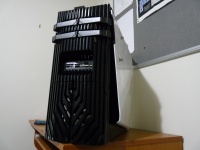
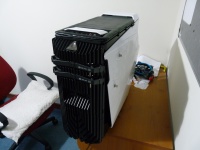
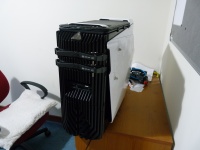
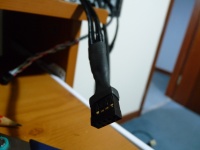
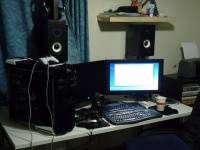
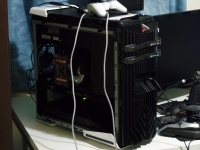
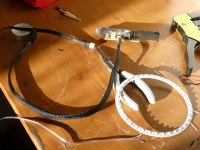
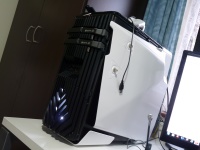
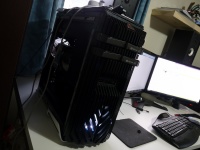
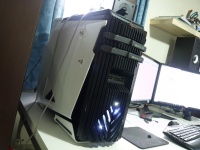
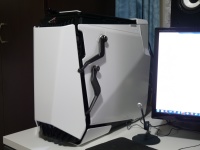
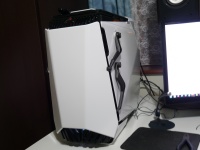
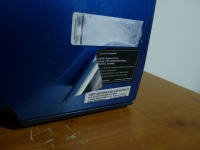
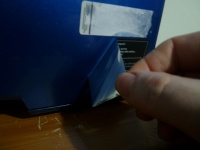
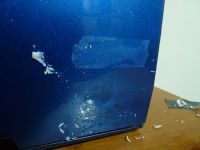
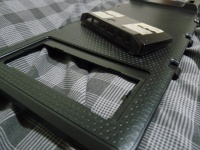
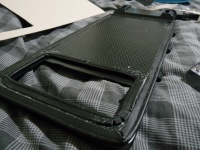
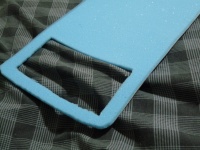
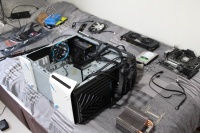
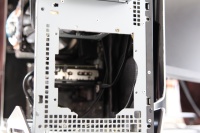
Yes, I am modding an Acer Predator ( G7713 model ). It was completely gutted at some point in the last 2 years and found its way onto ebay; oddly most of the bare cases I found for sale were in Germany, very rarely do they come up for sale in the UK it seems. Now, I know this case has a habit of splitting opinion quite strongly- many guys love the unique styling, others loathe it with a passion. I love it however, hence. Preparation Work The Acer badges had to go as I wanted a smooth front cover, so out came Mr. Stanley to carefully prize them both off- wasn't sure how they were secured but it soon became obvious- small through-pins that were melted on the other side once inserted to lock both parts together. With the badges removed I mixed up a batch of car body filler to fill in the holes they left, a slight pain as unlike 2 part epoxy resin in syringe dispensers you have to mix up the whole of both tubes here, though I managed to just use half & half in case I needed any more later on. I did go a little mad with the amount I used- I was concerned it would contract and need another going over if I scraped it off level, so better to use too much and sand it down flush later. 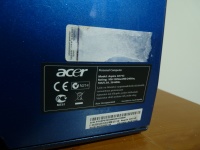
Modding 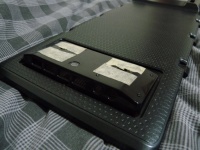
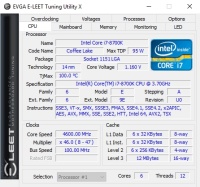
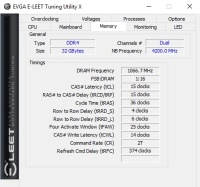
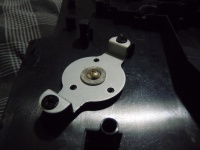
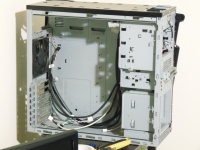
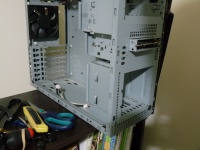
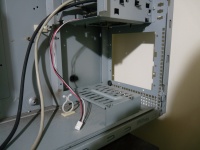
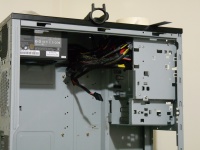
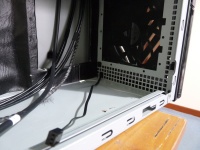
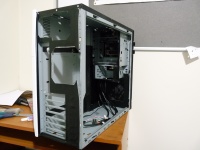
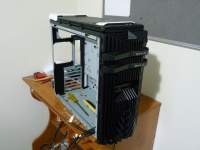
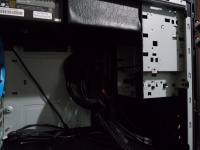
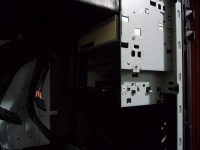
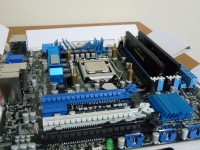
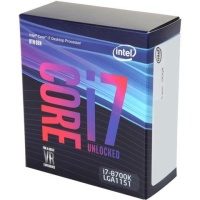
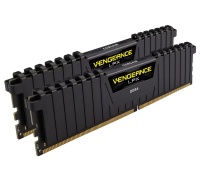
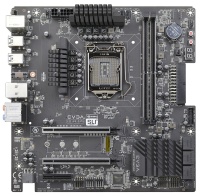
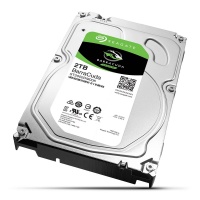
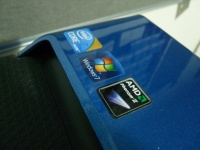
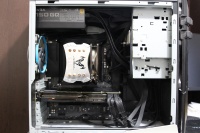
That was the plan anyway- seems like my PC had other ideas; a few weeks ago ( July 2018 ) my PC died on me without warning. One minute it was fine, the next it started behaving oddly, taking nearly two minutes to move from one folder to the next- I shut it down for the night, but in the morning it wouldn't boot, no error codes, no bios screen, just spinning fans and nothing else. I was faced with a couple of options neither of which I liked- either buy a whole bunch of compatible parts and try to trouble-shoot the issue ( I didn't like this option as it means ending up with a ton of parts I might not need, old parts at that ), or just bite the bullet and go ahead with the big upgrade ahead of schedule. I took the latter option and begged my bank account for forgiveness. Since this wasn't just an upgrade but more or less a full rebuild I gutted the chassis and also yanked out the LED ring light & its controller, yanked the front panel audio cable ( who uses that when you have an optical output on the rear IO? ) and finally yanked the whole CardReader since it was only USB1.1 speed. This reduced the number of cables inside the Chassis rather significantly and tidied things up a lot- a fact compounded on thanks to the new EVGA Z370 Micro using a side-mounted power connector for the 24-pin cable; this makes such a difference for cable management, along with a USB3 header that isn't in the middle of the board ( not currently using it but all the same ). The only real gripe I had was having to trim down the CPU cooler bracket for my venerable old Titan Fenrir- there are a couple little protrusions in each side that fouled the Mobo heatsink next to the socket and were very close to the RAM on the other side, so I filed them down to give me the clearance I needed- other than that, installing the new system into the customised Acer Predator chassis was a breeze. I especially appreciate other little touches on the Mobo such as the on-board speaker and Bios code readout- the black colour scheme also looks very nice whether you have a windowed case or not. As for the actual upgrade parts, I went with the EVGA Z370 Micro motherboard as mentioned, the Intel i7 8700k processor, 32GB of Corsair 2600Mhz DDR4 RAM ( RAM, Y U so expensive? ), a 2TB Seagate HDD and a 120GB SSD from SK hynix- probably should have gotten a 240GB but never mind, we'll see how it goes. I also took the opportunity to upgrade my back-up storage, going from the 500GB WD MyBook to a 4TB version with USB3. I kept the same PSU and GFX card since both work perfectly fine and are still more than adequate for my needs- when the next generation of cards comes out I expect we will see an abundance of 1080s and the like flood the market, especially if the crypto mining bubble starts to burst, then I might pick one up at a sensible price. Anyway, the rig is rebuilt with up to date parts and the performance is great, I even upgraded to Windows 10; works very much like 7 so not too much to adjust to, though there are a few minor quirks but that's the same with any new OS really so I'm happy enough- some of the new features required 3rd party software in the past so that's certainly a welcome improvement, and having the SSD as the boot drive makes a world of difference to start up times and program responsiveness. This time, I really don't plan on any major upgrades for at least 5 years or more, with the GFX card being the only likely component that gets swapped out for something newer. See you around... 2019 SSD Upgrade 
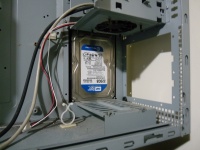
It turns out that a 120GB boot-drive was wishful thinking- large enough for the programs and OS, but as soon as I started doing any video recording the drive filled up very quickly and I started getting warnings about being low on space. As it happened there was a sale at Scan so I decided to pick up a nice M.2 SSD drive- 512GB for less than 90 quid, the only issue being the pain in the ass that is removing the graphics card in order to install the tiny drive directly onto the mother board; I hate the retention clips that are near impossible to access and won't release the card unless they are fully opened ( which you can't do easily with a huge card installed ). Regardless, I wrestled the card out and installed the SSD, then set about cloning the Boot drive with the software from EaseUS designed for just that procedure- didn't take too long and was very simple to follow the instructions. The new SSD is very quick- not the fastest but then again I'm not really a fan of willy-waving and upgrading every few weeks when new gear is released, 1500/1000 read and write is plenty for my needs. I did also leave the old 120GB card installed since.. why not? It might be useful for something one day and its re-sale value is pennies; the price of SSD is really dropping fast lately which is great news for people upgrading and building new rigs, although it is a little irksome for those of us that purchased drives only to see them appear for 25% less a few months later- amusingly enough however pretty much everything I bought when rebuilding the PC last year has gone UP in price- swings and roundabouts as they say... 2024 Rebuild & Upgrades 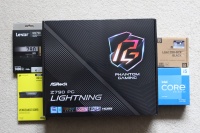
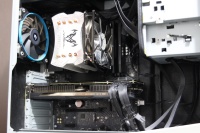
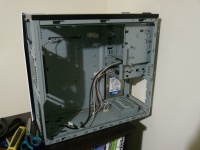
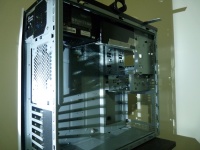
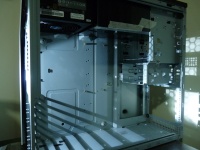
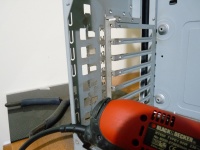
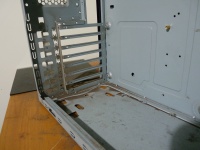
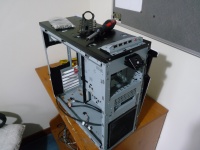
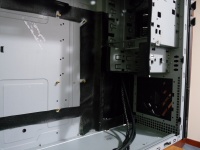
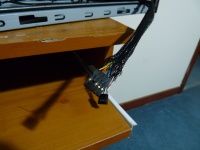
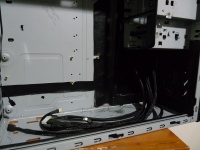
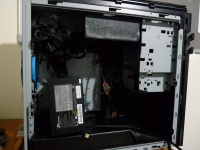
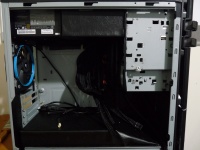
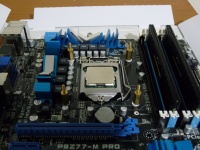
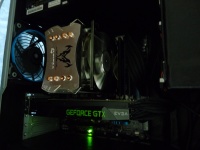
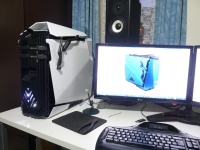
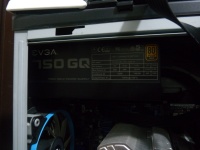
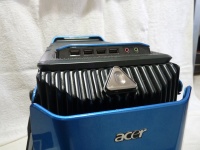
It's been 5 years and my PC decided it was time to start randomly bluescreening- every time I booted it up; yay. Well, given it was getting a little long in the tooth I decided it was time for a rebuild and upgrade, so I spent a few weeks researching and agonising over my options, AMD vs Intel, and finally opted on a 13th generation Intel build. I went with an i5-13600k, Asrock Z790 Lightning mobo, 32GB of fast 6000mhz DDR5 ram, a 4TB Lexar NM790 M.2 Drive, a Thermaltake anti-bending CPU bracket and a new internal card-reader to replace the Lexington external one that lived on top of the PC case. I reused my beloved Acer Predator case, EVGA 750watt PSU and rather old 980Ti GPU ( I'll update that one day, maybe )- I had to cut a hole in the front panel of the case so that the new card-reader could slot in where the original lived, nothing that a rotary tool and a steady hand couldn't take care of and the result looks pretty clean. I also recycled my equally old Titan Fenrir CPU cooler as it still fits the mounting pattern of the LGA 1700 CPU socket- thankyou Intel, lol. I am conscious that even with a semi-modular PSU the wiring could do with a little tidying up, shorter cables would certainly help though they aren't all that cheap and since there is no window I hardly see the point- I'll live with it as it is. Performance is great, noticeably quieter without a HDD and much, much faster in video rendering and opening programs and saving files. On a side note along with the blue screens on the old system I was also having an issue with an unknown USB device malfunctioning- I thought it was the mobo but I still had the same issue on the new system; via process of elimination it turned out to be the front panel USB hub built into the top of the case- disconnected it from the mobo and the problem is gone. I think I might do some more modding at some point to remove the old circuit board and mount a USB3 hub in its place- again, nothing that a Dremel and some glue can't fix. When I can be bothered that is... 2024 Intake Fan Upgrade 
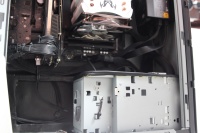
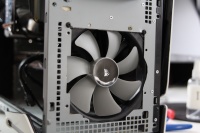
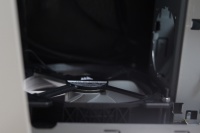
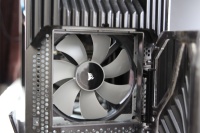
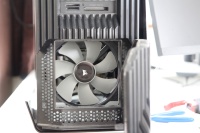
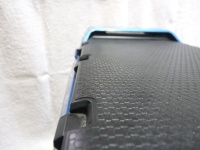
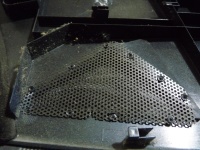
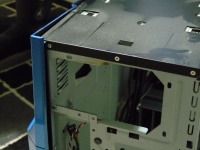
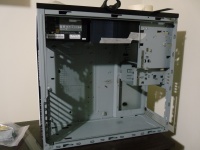
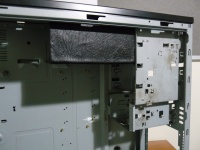
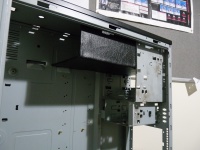
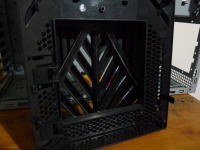
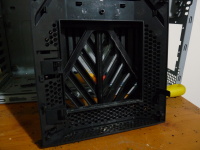
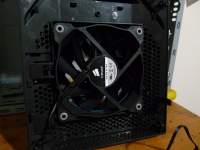
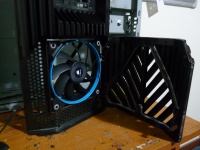
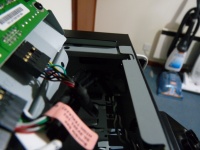
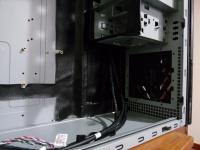
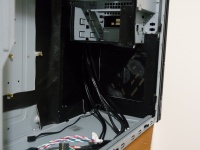
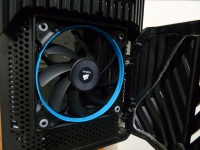
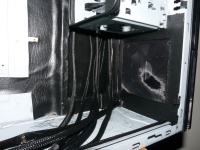
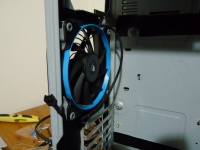
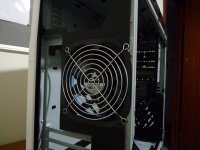
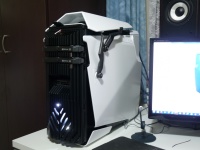
It's a few months in and I have noticed that the new build does tend to get a bit warm, especially under load so I decided to do a little bit of case modding in order to add a larger intake fan; compared to any modern case the old Acer Predator is extremely lacking which is why I added a 120mm fan originally, but now we need a little more cooling so it's time for a 140mm fan. Not too much work required, just a little bit of hacksawing to enlarge the opening, and a little bit of drilling so that the larger Corsair 140mm fan can fit without obstruction to airflow. I also took the opportunity to shift the optical drive to the higher mounting spot to give a clearer air path for the CPU cooler, deleted a fan extension lead, and tidied up the other wiring rather a lot including cutting down the daisy-chained Sata power connector to just have one connector instead of three for the optical drive. Looks much cleaner inside the case now and airflow is improved- not sure how much difference it really makes though since I never recorded any before and after temperatures, so we'll just pretend it was worth the couple hours of work and call it good... 2025 Graphics card upgrade & bottom intake vent 


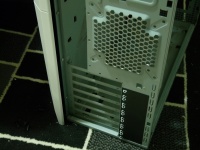
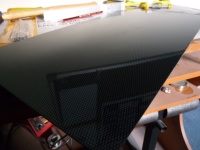
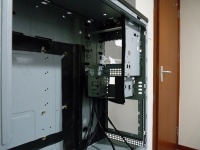
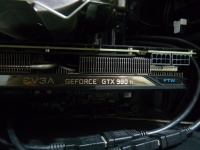
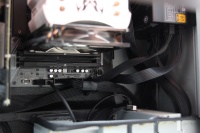
I love my EVGA 980Ti, it has been with me for 10 years and several upgrade cycles, but now seemed like the time to upgrade finally. I wouldn't have bothered given the silly prices of GFX cards lately and the lack of performance uplift from the previous generation, but as it happens I sold a camera lens I wasn't using anymore and had a good payday at work, so this month was likely the only time I could upgrade without it even making a dent in my savings ( line goes up = happy Neil ). The lack of performance increase from the previous generation was of no concern to me given my current card being 10 years old, anything would be an improvement at this point, so I agonised over my options for a week or two and went with an ASUS RTX 5070 Prime OC model. Why not a 5070Ti? Well, two things- price, and my performance requirements. The Ti models are anywhere from ~200 to 500 quid more expensive, and aimed at 2K or 4K gamers; I only have 1080p monitors and the next one I buy will be 1440p high refresh rate, so the 5070 is perfect, no need for a PSU upgrade either. The one thing I did decide to 'upgrade' is the cooling, by cutting a 12cm square hole in the bottom of the Acer Predator chassis and putting a magnetic filter over it, or under it I suppose. This allows the GFX card to intake fresh air with its fans more easily- I wouldn't mind doing some more extensive mods to move the internal card reader higher up ( mount it in one of the CDROM bays ) and allowing me to have a second intake fan on the front of the chassis for even better airflow, that will have to wait until the next rebuild in ~5 years time or so... 2025 CPU upgrade, top panel I/O upgrade and drive cage removal 


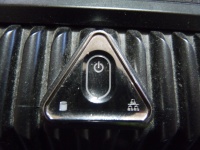
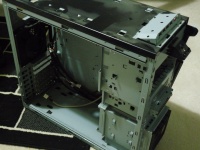
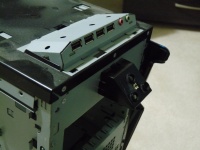
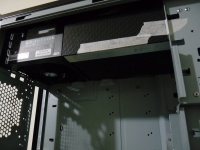
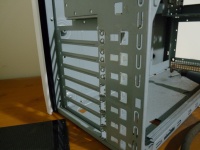
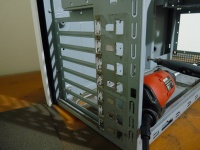
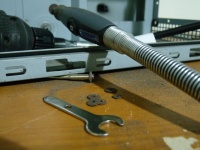
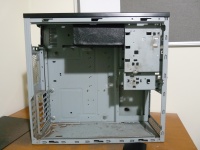
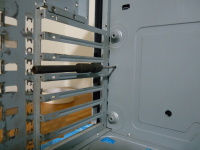
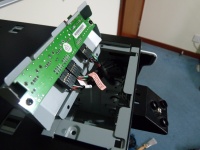
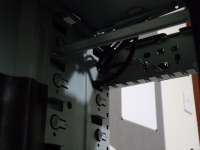
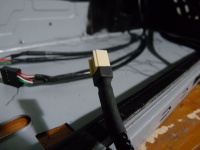
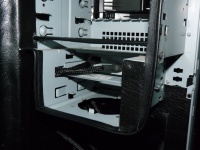
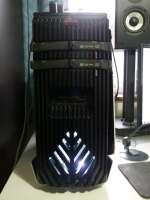
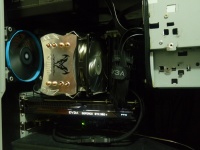
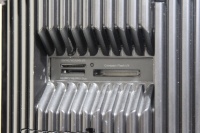
As mentioned on the News section of the Home page, my i5-13600k started dying on me due to the dreaded 13th/14th gen instability issues, so after sending that back to Scan.co.uk they confirmed it as faulty and I got a i5-14600k as a free replacement under RMA, which was nice. While I the PC stripped down I decided to do some work removing the old drive bays and the CR-ROM drive itself as I never use it these days, and that would free up some space at the front of the case to make future upgrades/rebuilds easier. I did drill out most of the rivets but there were a few that were impossible to get to , so I had to opt for some Mole-grips and violence to rip out the drive bay frame- worked like a charm with no damage to the chassis. This did mean however that I had to glue the card reader in place but that's fine, it's not going anywhere unless I hit it with a hammer which I don't plan on doing. During reassembly I remembered that I wanted to replace the dead top panel I/O, so I purchased a simple 2 port USB3 drive bay adaptor and cut away most of the metal to make it smaller, gluing the remaining important part to a panel of ABS plastic that I cut and sized to fit in the opening in the top of the case once the old I/O 'bump' had been removed- hardest part of that process was drilling and filing the two little rectangular openings for the USB sockets to line up with ( it's not perfect but close enough for me as always ). That got plugged into the motherboard USB 3 header ( there are two, which is rather handy ) and then stuck in place with some double-sided tape, giving a flush fit with the rest of the top panel and looks great, very clean looking and easier to plug things in compared to the old angled sockets. Hopefully nothing else goes wrong or breaks, I don't expect so but you never know with electronics- I do have some LEDs coming for the inside of the case as I want to have a subtle red glow coming out the front, feels a bit bland with only the power indicator for lighting. I don't want crazy RGB rainbow effects as there are no windows in the case and it looks distracting to me, just a gentle red glow- I'll cover that in a new update once they arrive and are installed... 2025 CPU replacement and RGB Lighting 


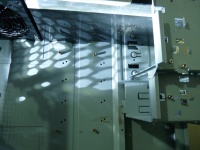
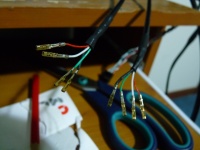
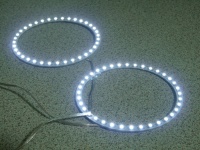
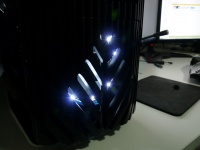
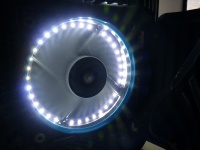
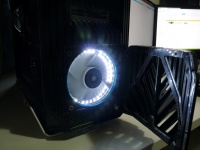
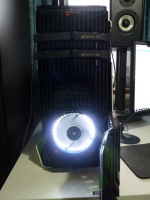
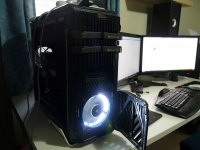
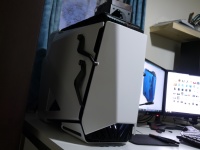
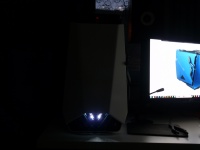
Well, that didn't last long- less than 3 months and my replacement 14600k went to silicon heaven too just like the last one and also had to be replaced under RMA ( thanks Scan, again ); I have no faith in the replacement so if this one also conks out I'll see if I can replace it for a 12th Gen CPU, one way or another. Anyway, since I had the PC torn down, I took the opportunity to install the new RGB lighting- one strip coiled up and stuck to the roof of the case, the other wrapped around the card reader, and all the cables routed... somewhat neatly ( I have thoughts about improving the cable routing though in all honesty it's not that bad, and custom shortened cables wouldn't really help that much either ). The pictures aren't great for obvious reasons, but you'll get the idea- there's a nice red glow out of the vents on the front, the former CDROM drive area, and the small vent on the side panel, it's fairly subtle but a nice touch. 2026 Motherboard replacement and GPU support 


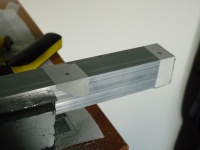
The plot thickens. As expected the 2nd replacement 14600k CPU also started misbehaving after only a couple weeks so I sent that back under RMA and... it tested OK with no faults by Scan's team, so I had it sent back to me and was left to fault find myself. The only other likely cause of black screens was the motherboard itself, so I bit the bullet and purchased a used Asus Z790-Plus Wifi- always a gamble buying certain used PC parts but the seller had 100% feedback and seemed legit so what the heck, it's only money. 130 Quid and a few days later my 'new' board arrived- I did notice two slightly bent pins but it was very minor, so after gutting my PC for the umpteenth time I had the displeasure of rebuilding it, routing cables and needing to buy an adaptor since the new mobo only had one USB3 mobo header and one USB3 type-C header. I didn't bother transplanting over the bending correction frame for the CPU, it looks nice but really doesn't seem to make much odds to temps so I went with the original CPU hold-down already on the new board. Thankfully, the PC fired right up without any issues, I didn't even need to reinstall the operating system, I just let windows do it's thing and installed drivers as required from Asus's website. One perk of the new Asus board is it's on-board RGB LEDs and software, not that I really needed that feature as I just set everything to be a solid red colour to match my keyboard; I'm boring like that. One interesting issue that crop up however is the heavy GPU sagging just a little too much resulting in no display signal- took me a minute to figure that out but I was able to resolve that problem by cutting a piece of plastic rod to use as a support bracket; I considered buying one for a tenner, but a length of one inch plastic cost me nothing and I needed it right away. So yeah, hopefully that's an end of this CPU-failure saga- my old mobo will be stuck on ebay for spares/repair, someone else can play with that nonsense... | |